The process with the hard dodger is essentially the same, but it’s much smaller and has fewer facets.
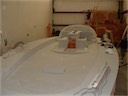
The most recent pictures show the painted deck with the non-skid applied. The glossy areas at the edges, around the hatches and around hardware show where the non-skid was not applied.
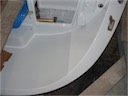
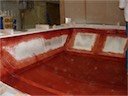
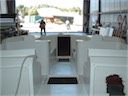
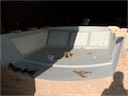
Non-skid on the transom – May 2008
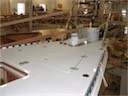
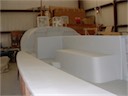
Non-skid on the house top – May 2008
Non-skid on the side deck – May 2008
Non skid on the foredeck – May 2008
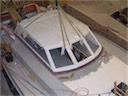
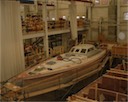
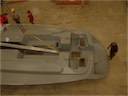
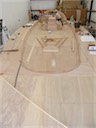
View from above – Feb 2008
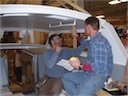
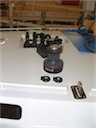
Jim and JB check the wiring channels – Feb 2008
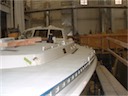
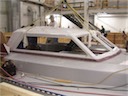
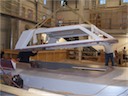
Profile from port – Feb 2008
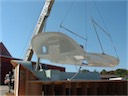
The dodger has landed – Feb 2008
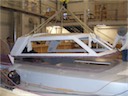
Almost there – Feb 2008
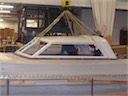
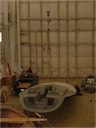
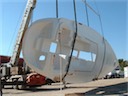
Sky hook lowers it down – Feb 2008
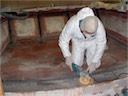
Fairing the inside of the dodger before applying the core – Oct 2007
Cockpit portion of deck prior to lifting onto the hull – Oct 2007
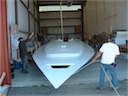
Finished deck about to lifted onto the hull – Oct 2007
Laying up the dodger – Oct 2007
Fairing the deck – Oct 2007
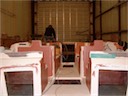
Deck looking forward with hole in future location of starboard transom locker – Oct 2007
Right side up and back in the shed – Oct 2007
Flipping the deck – Oct 2007
Lifting the deck out of the mold – Oct 2007
Core is applied to the outer skin on the deck before laying up the inner skin – Sep 2007
Initial layers of deck lay up – Sep 2007
Hard dodger mold – Aug 2007
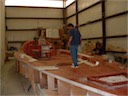
Cockpit area of deck mold – Note that it’s upside down – Jul 2007
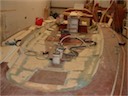
Finished deck mold – Jun 2007
Planked deck mold – Jun 2007
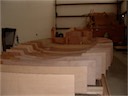
Framing for the deck mold – May 2007